
 By Muslim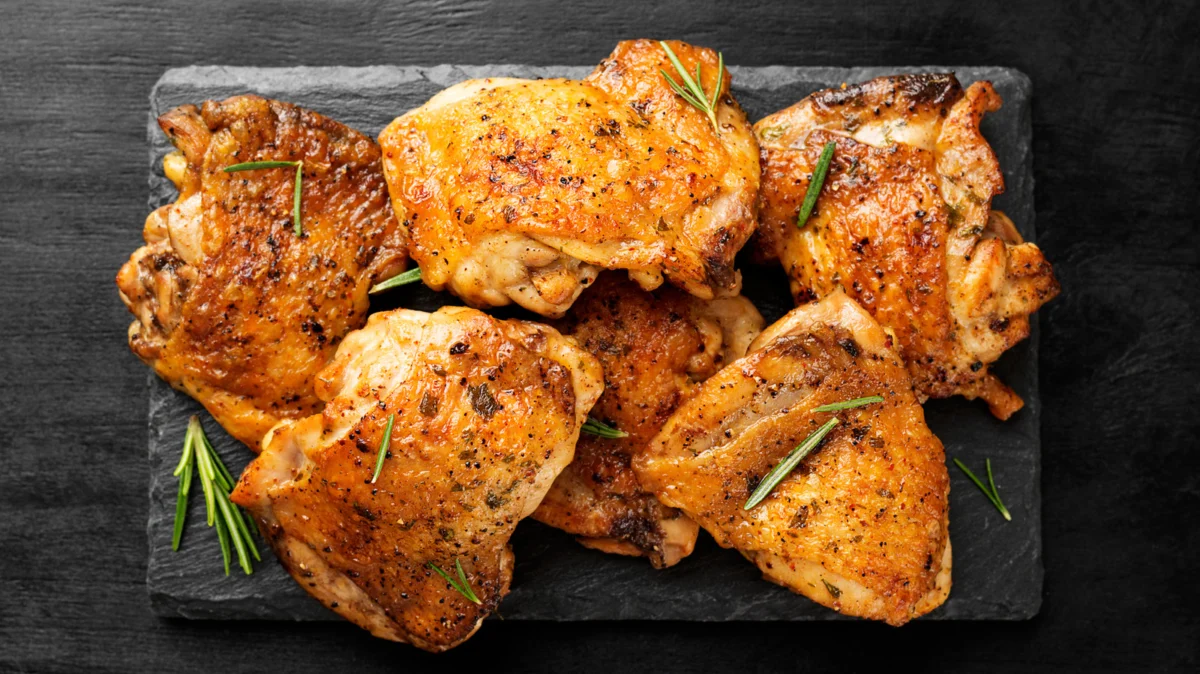
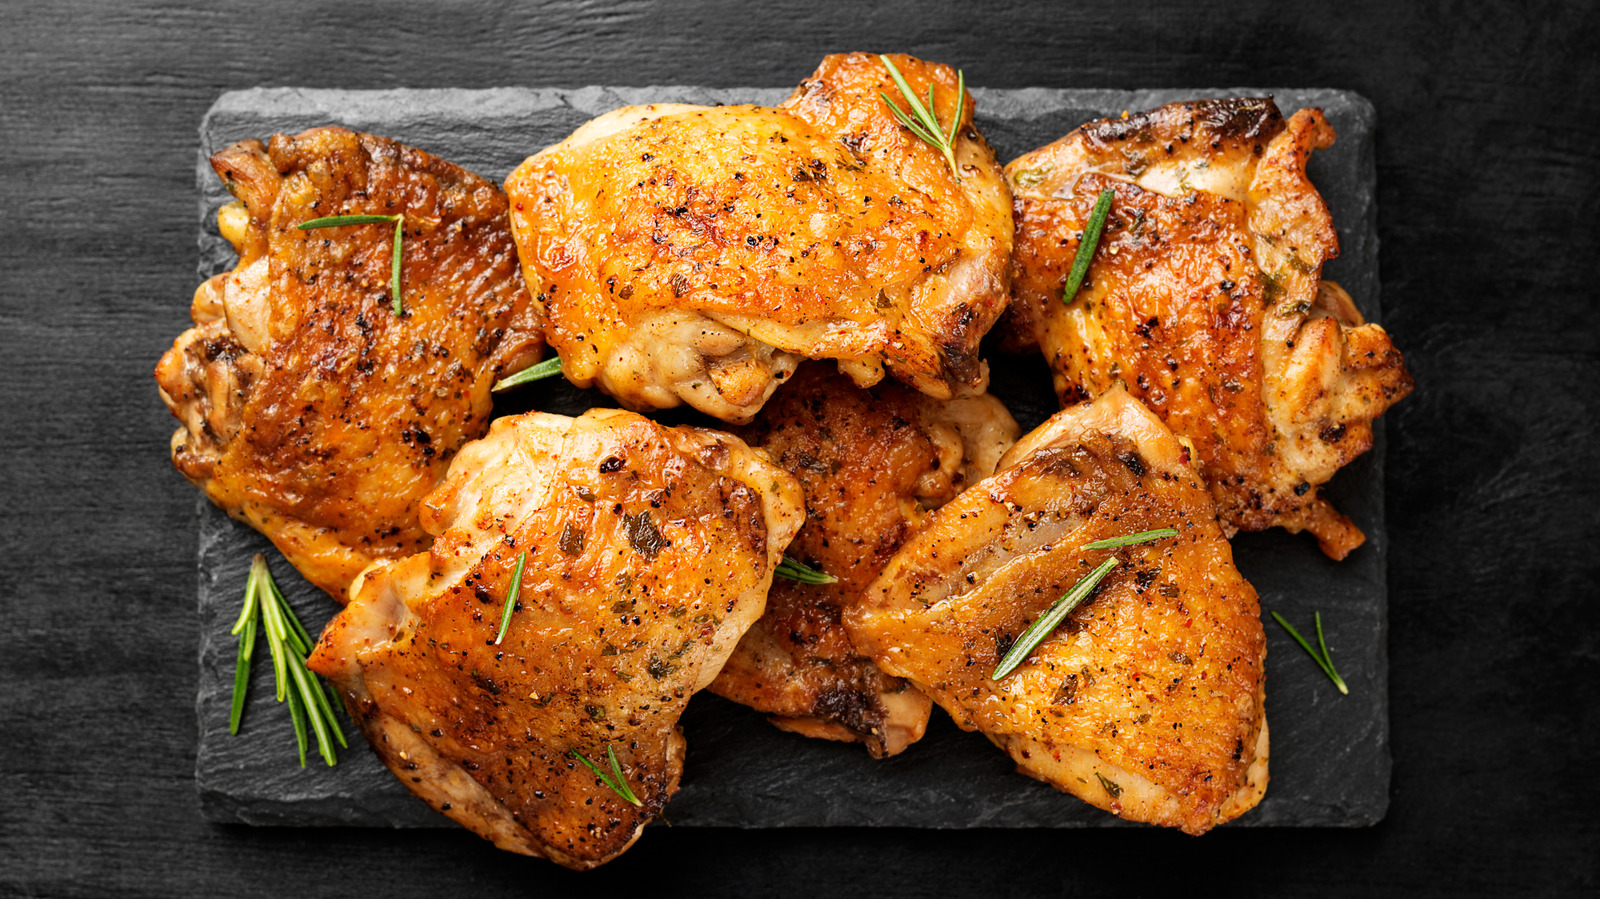
Chicken thighs are the unsung heroes of the modern kitchen. They are remarkably versatile, budget-friendly, and packed with a depth of flavor that leaner cuts of poultry simply cannot match. Whether you are roasting them for a simple weeknight dinner alongside buttery mashed potatoes, incorporating them into a rich Spanish rice, or creating a sophisticated tahini-glazed masterpiece, the thigh is a chef’s reliable canvas.
However, the reputation of the chicken thigh is often marred by a series of common, yet easily avoidable, culinary errors. Many home cooks report experiences with meat that is dry, rubbery, or inconsistently cooked, leading them to abandon this superior cut in favor of the more predictable, albeit less flavorful, chicken breast. With over 15 years of experience in the professional food industry and decades of home cooking, it is clear that mastering the chicken thigh is less about complex technique and more about respecting the biology of the meat. Here is the definitive guide to avoiding the pitfalls that ruin your chicken thighs and how to save them.
The Anatomy of the Cut: Why Thighs Differ
To understand how to cook chicken thighs, one must first understand their composition. Unlike breasts, which are lean and susceptible to rapid moisture loss, thighs are rich in intramuscular fat and connective tissue. When cooked correctly, that fat renders, basting the meat from the inside out, while the connective tissue breaks down into gelatin, providing that coveted "melt-in-your-mouth" texture.
1. The Selection Strategy
Your journey to a perfect meal begins at the grocery store. Choosing the wrong type of thigh can sabotage your dish before the heat is even applied.
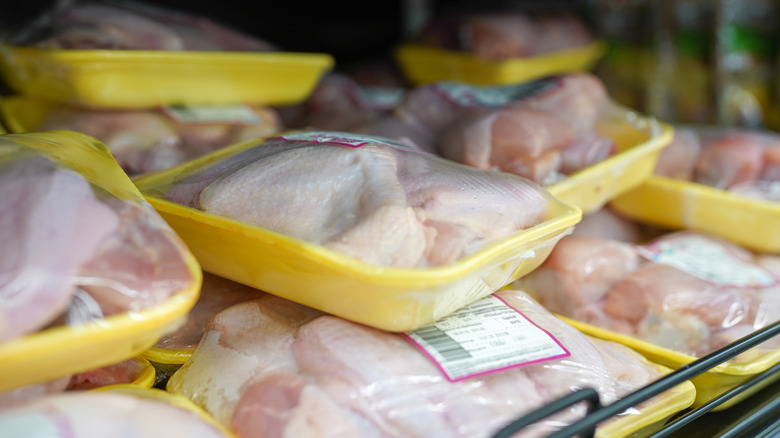
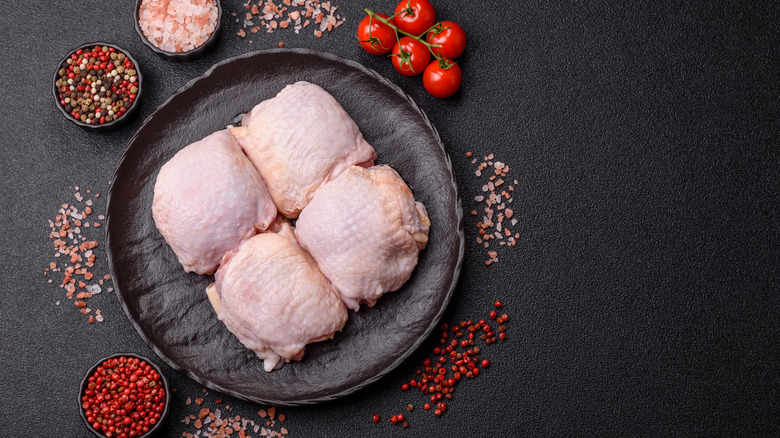
- Air-Chilled vs. Water-Chilled: Always opt for air-chilled chicken. Water-chilled poultry absorbs significant amounts of liquid during processing, which prevents the skin from crisping effectively during cooking.
- Bone-In vs. Boneless: Bone-in, skin-on thighs are the gold standard for roasting, as the bone insulates the meat and the skin protects the flesh from direct heat. Reserve boneless, skinless thighs exclusively for soups, stews, or braises, where the liquid environment compensates for the lack of fat protection.
The Pre-Cooking Phase: Essential Preparation
2. The Power of the Brine
Many home cooks neglect the most crucial step in flavor and moisture retention: the brine.
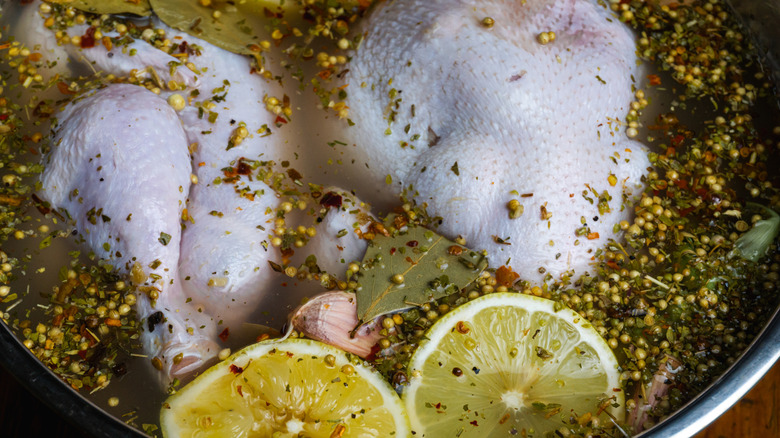
- Wet Brining: Best for those looking for maximum juiciness. A simple solution of water, kosher salt, sugar, and aromatics like garlic powder can transform the texture of the meat. Keep the soak to under two hours to avoid a mushy consistency.
- Dry Brining: This is the preferred method for those who plan to use a marinade later. By coating the thighs in kosher salt and letting them rest in the refrigerator for at least an hour (or overnight), you allow the salt to penetrate the muscle fibers, resulting in a more robust flavor profile and a superior sear.
3. Mastering the Marinade
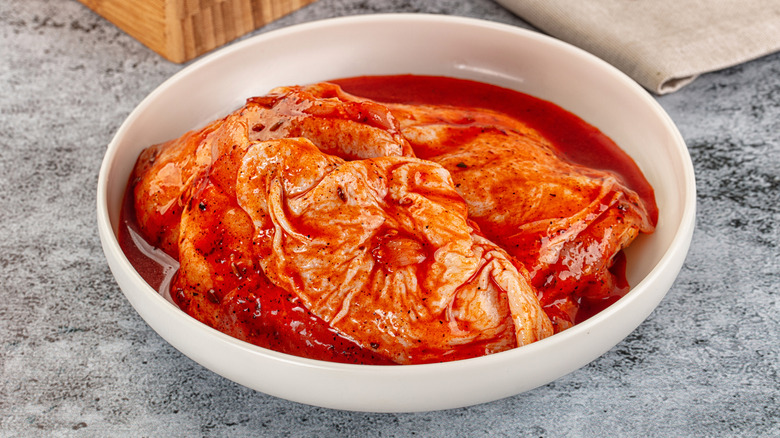
While wet brining should be a standalone step, marinating is an excellent follow-up to a dry brine. Because chicken thighs are porous, they absorb flavor exceptionally well. However, duration is key. Unlike tougher cuts of beef, chicken thighs should only be marinated for two to three hours. Anything longer, particularly if the marinade is acidic, will begin to break down the protein structure too aggressively, leading to a loss of texture. Remember the golden ratio for homemade marinades: three parts oil to one part acid.
4. The Drying Ritual
If your chicken skin consistently turns out rubbery or pale, the culprit is moisture. Excess surface water is the enemy of the Maillard reaction—the chemical process that creates a golden-brown crust. Before seasoning or cooking, use a paper towel to pat the skin bone-dry. This simple step ensures that the skin crisps immediately upon hitting the pan or oven heat, rather than steaming in its own surface moisture.
Cooking Techniques and Troubleshooting
5. The Seasoning Paradox
Under-seasoning is a universal culinary failure, but with chicken thighs, there is a specific caveat: the "Brine-Salt Balance." If you have already brined the meat, you must drastically reduce the amount of salt added during the final seasoning phase. Once the salt level is balanced, feel free to experiment with bold profiles—smoked paprika, cayenne, garlic powder, and fresh herbs like oregano or parsley are excellent partners for the rich, dark meat of the thigh.
6. The "Low and Slow" Philosophy
There is a common misconception that all poultry should be cooked at high temperatures. While this works for thin breasts, it is disastrous for thighs. Because of their varying thickness and high fat content, high-heat cooking results in burnt fat and scorched skin before the center of the meat has reached the appropriate internal temperature.
- The Recommendation: Aim for an oven temperature of 350°F to 375°F. This lower temperature allows the fat to render slowly, ensuring the entire piece is cooked evenly.
7. Avoiding Overcrowding
Heat circulation is the foundation of effective roasting. When a baking sheet is packed too tightly, the air cannot circulate, and the moisture released from the meat becomes trapped, essentially steaming the chicken instead of roasting it.
- The Finger Rule: Ensure there is at least one full finger’s width of space between each thigh on the tray. If you are cooking for a crowd, use two separate pans on different racks rather than cramming them onto one.
8. The Skin-Side Down Secret
If you are pan-searing your chicken, avoid the temptation to start with the skin side up. The most effective technique is to place the chicken skin-side down in a cold frying pan. By using medium-low heat, you allow the fat to render out of the skin slowly as the pan warms up. This prevents the skin from sticking and creates a glass-like, crispy finish that is impossible to achieve by dropping chicken into a pre-heated pan.
Finishing and Safety Standards
9. Beyond the 165°F Benchmark
While food safety guidelines state that 165°F is the minimum safe internal temperature for poultry, this is the point where the thigh is often at its worst. At 165°F, the connective tissue—specifically the collagen—has not yet converted into gelatin. For the most tender, succulent results, aim for an internal temperature of 185°F. Using a digital, instant-read thermometer is not a luxury; it is the only way to ensure your meat is both safe and perfectly cooked.
10. The Necessity of Resting
Finally, never serve your chicken immediately upon removing it from the heat. Resting the meat for five to ten minutes allows the juices, which have been pushed to the center by the heat, to redistribute throughout the muscle fibers. If you slice into the chicken immediately, these juices will run out onto the cutting board, leaving you with dry meat. Use this resting time to finish your sides, such as whisking a gravy or tossing roasted vegetables in butter, and you will be rewarded with a significantly more professional final product.
By adhering to these ten principles, you transition from merely "cooking" chicken to mastering it. The chicken thigh, when treated with the appropriate technique, remains one of the most rewarding and flavorful ingredients in any kitchen repertoire.
 Lina Irawan
  Lina Hope
  Reynand Wu