
 By Nila Kartika Wati
For millions of coffee enthusiasts, the morning ritual begins with the pursuit of the ultimate café-quality latte. Whether it is recreating a comforting, spiced autumn beverage or shaving down the mounting costs of a daily coffee-shop habit, crafting the perfect espresso-and-milk drink at home is a pursuit that blends culinary science with fine art. Yet, for many amateur baristas, the homemade cup often falls flat—tasting watery, overly bitter, or disjointed compared to the velvety pours served by professional baristas.
To uncover why at-home lattes frequently miss the mark, we spoke with prominent coffee industry experts: Mary Conklin, Coffee Educator at Variety Coffee Roasters, and Chris Retallick, Co-owner of Boxwood Coffee Roasters. Their insights reveal that minor missteps in bean selection, grind size, milk temperature, and machine familiarity are often the hidden culprits behind a disappointing morning brew.

Main Facts: The Anatomy of a Flawed Latte
Achieving a true café-quality latte requires understanding that every component—from the green coffee bean to the final pour of microfoam—plays a critical, interdependent role. According to Conklin and Retallick, the most common errors do not stem from a lack of expensive equipment, but rather from a fundamental misunderstanding of extraction variables and milk chemistry.
At its core, a latte consists of a concentrated shot of espresso unified with steamed milk and a delicate layer of microfoam. When the espresso is too thin, the milk is scorched, or the grind size is mismatched to the brewing time, the structural integrity of the drink collapses. The espresso gets lost in a sea of hot milk, or the flavor profile turns aggressively bitter or sharply acidic. Fortunately, these roadblocks can be systematically dismantled with a few precise adjustments to technique and ingredients.

Chronology: The Journey from Bean to Cup (and Where It Goes Wrong)
To understand how home baristas inadvertently ruin their daily lattes, it helps to examine the chronological timeline of making a cup of coffee and pinpoint the exact moments things derail.
Phase 1: Bean Selection and Rest Periods
The journey begins long before the machine is turned on. Many home baristas make their first mistake in the grocery or specialty coffee aisle by purchasing stale beans or grinding coffee far too early.
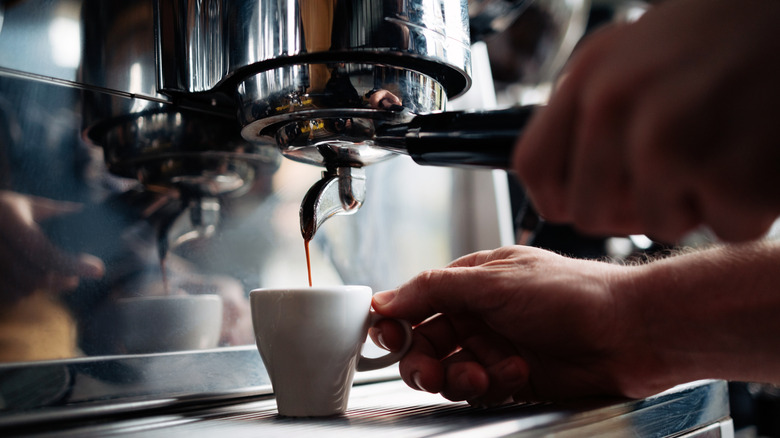
- The Error: Using coffee beans that have lost their freshness due to oxidation, or brewing freshly roasted beans instantly without letting them degas.
- The Correction: Mary Conklin advises looking for bags with a clearly marked roast date and allowing the beans to rest for two to four weeks post-roast before brewing. Furthermore, whole beans should only be ground immediately prior to extraction to preserve volatile aromatic compounds.
Phase 2: Grind Size and Espresso Extraction
Once the beans are prepped, the portafilter is packed and the shot is pulled. This is where chemical extraction either succeeds or fails.
- The Error: Pulling a watery, fast shot or a choked, over-extracted shot that tastes unpalatably bitter or sour.
- The Correction: A proper espresso shot should be thick, concentrated, and rich—resembling warm honey rather than drip coffee—yielding roughly 2 ounces in 25 to 30 seconds. If the shot is too thin, the grind is too coarse; the water rushes through the gaps like a river over boulders. Adjusting the grinder to a finer setting (resembling sand) slows the water down, increasing extraction strength and flavor depth. Conversely, an overly bitter shot requires a coarser grind to speed up extraction.
Phase 3: Milk Selection and Aeration
While the espresso is pulling, the milk preparation demands equal precision.
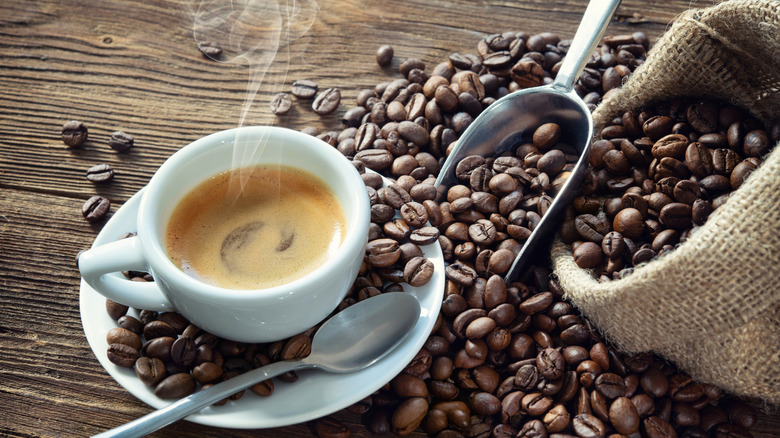
- The Error: Heating standard milk in the microwave or pouring cold dairy straight into a steaming pitcher without introducing proper air.
- The Correction: For a creamy texture, choose milks with a higher fat content or look for products explicitly labeled "barista blend," which are chemically formulated to resist separation under heat. If using plant-based alternatives, oat and pistachio milks are top recommendations for achieving a cohesive texture. Next, active aeration must take place: stretching the milk with steam creates microscopic bubbles (microfoam), which is then swirled into a silky whirlpool to distribute heat evenly.
Phase 4: Temperature Control
The final technical step involves knowing exactly when to stop heating the milk.
- The Error: Guessing the temperature by touch alone, resulting in either lukewarm coffee or scorched, denatured milk proteins.
- The Correction: Chris Retallick and Mary Conklin both advocate for a target temperature range between 140°F and 150°F (specifically around 145°F). At this range, the pitcher should feel intensely hot to the touch, but not unbearably painful. Beginners should utilize a dairy thermometer to lock in this muscle memory.
Supporting Data and Expert Insights
To better contextualize why these physical variables matter so much, industry standards highlight the precise science behind coffee extraction and milk texturing:
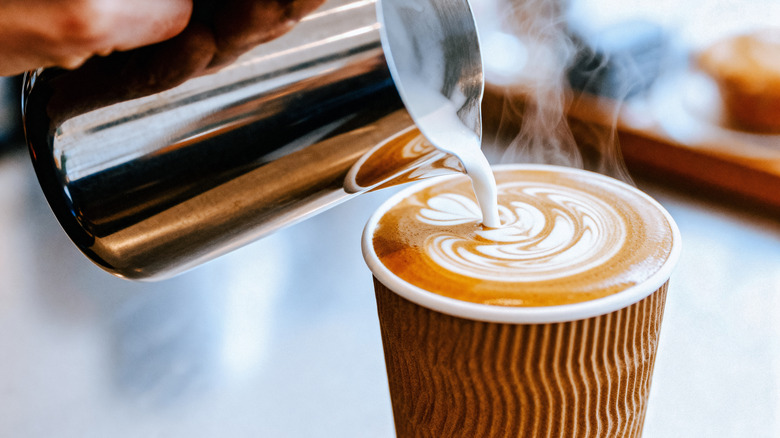
- Extraction Ratios: Standard espresso brewing guidelines dictate a 1:2 coffee-to-liquid output ratio (e.g., 18 grams of ground coffee yielding 36 grams of liquid espresso) over a precise 25-to-30-second window. Deviations from this window directly correlate to under-extraction (sourness) or over-extraction (bitterness).
- The Physics of Microfoam: Milk proteins (whey and casein) and fats stabilize air bubbles introduced during the steam-wand stretching phase. If the milk exceeds 160°F, these proteins break down, causing the milk to curdle, separate, and lose its ability to hold a cohesive, glossy microfoam structure.
- Equipment Mastery: According to Mary Conklin, throwing money at high-end espresso machines or specialty accessories will not compensate for a lack of foundational knowledge. Understanding the interplay of dose, grind size, yield, time, and temperature remains the ultimate prerequisite for gourmet home brewing.
Official Responses: Perspectives from Specialty Roasters
The commercial coffee sector has noticed a massive surge in home espresso setups, prompting specialty roasters to invest heavily in consumer education.
"The biggest misconception amateur baristas hold is that making espresso at home is automated magic," says Mary Conklin, Coffee Educator at Variety Coffee Roasters. "Espresso is a science of micro-adjustments. When a customer tells me their homemade latte tastes watery or sour, we can almost always trace it back to grind size or bean freshness. Once they understand how a finer or coarser grind acts like a dam in a river, everything clicks."
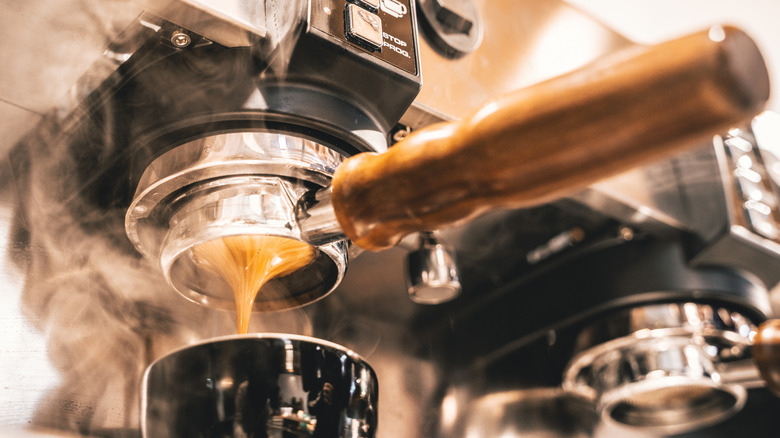
Chris Retallick, Co-owner of Boxwood Coffee Roasters, emphasizes the physical discipline required for texturing milk. "People underestimate the importance of the stretch phase," Retallick notes. "You cannot simply submerge a steam wand to the bottom of a pitcher and wait for it to get hot. You have to incorporate air right at the surface to build that velvety microfoam, then transition immediately into the whirlpool vortex. That is the exact threshold between a bitter mug of hot milk and a true artisan latte."
Implications: Elevating the Daily Routine and Saving Money
Mastering the craft of the at-home latte carries significant implications for both the modern consumer’s wallet and their daily appreciation of specialty coffee.
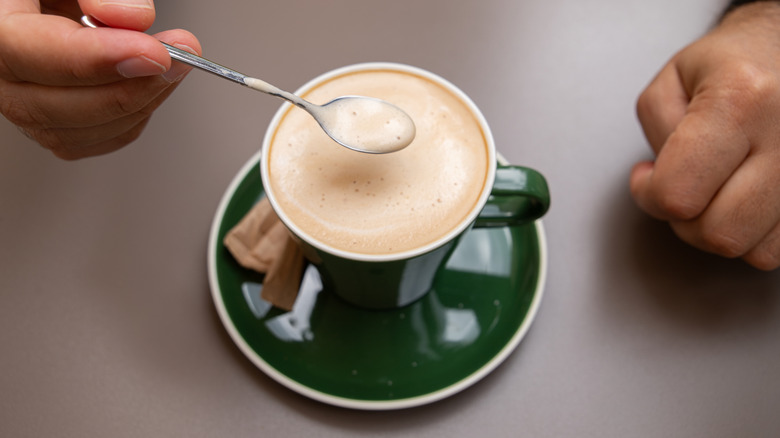
From an economic standpoint, purchasing a mid-range espresso setup and learning to troubleshoot extraction errors can yield hundreds, if not thousands, of dollars in annual savings for daily coffee drinkers who frequently visit commercial chains. More importantly, overcoming the steep learning curve of home espresso brewing transforms a mundane morning chore into an engaging culinary craft.
By treating espresso extraction as a precise science—paying attention to roast dates, adjusting grind sizes methodically, selecting barista-friendly milk alternatives, and honoring strict temperature limits—coffee lovers can permanently close the gap between their kitchen counter and their favorite neighborhood coffee shop. Ultimately, the transition from a frustrated amateur to a confident home barista lies not in buying more gear, but in deeply understanding the equipment and ingredients you already have.
 Ali Ikhwan
  Asro
Asro  Layla Zulfa